Mastering RemoteIoT VPC Network With Raspberry Pi And AWS: The Ultimate Guide
Ever wondered how to set up a RemoteIoT VPC network using Raspberry Pi and AWS? If you're reading this, chances are you're already into the tech game and looking to level up your skills. The world of IoT and cloud computing is exploding, and integrating Raspberry Pi with AWS opens doors to endless possibilities. So, buckle up because we're diving deep into the nitty-gritty of remote IoT setups, and trust me, it’s gonna be a wild ride.
In today's digital age, connecting devices remotely is no longer a luxury—it's a necessity. Whether you're managing smart home systems, monitoring industrial sensors, or building your own DIY IoT projects, understanding how to configure a VPC network on AWS with Raspberry Pi is crucial. This guide will walk you through every step, from setting up your environment to troubleshooting common issues.
But here's the thing—this isn't just another generic tutorial. We're breaking down complex concepts into bite-sized chunks that even a tech newbie can understand. So, whether you're a seasoned developer or a curious hobbyist, this guide has got you covered. Let's get started!
Read also:Who Is Antonio Banderas Married To The Love Story Behind The Iconic Actors Life
What is RemoteIoT VPC Network and Why Should You Care?
Alright, let's start with the basics. A RemoteIoT VPC network refers to a virtual private cloud (VPC) environment specifically designed for IoT devices. Think of it as a secure, isolated space in the cloud where your IoT devices can communicate seamlessly without exposing them to public networks. And why should you care? Well, security, scalability, and efficiency are just a few reasons.
When you integrate Raspberry Pi with AWS, you unlock the power of cloud computing for your IoT projects. AWS offers robust tools like IoT Core, Lambda functions, and S3 buckets, making it easier to manage and scale your devices. Plus, with a VPC setup, you can control access, monitor traffic, and ensure your data stays safe.
Benefits of Using AWS VPC for RemoteIoT
Here’s a quick rundown of why AWS VPC is a game-changer for remote IoT setups:
- Enhanced Security: VPC allows you to create subnets, security groups, and access control lists to protect your IoT devices from unauthorized access.
- Scalability: Easily add or remove devices as your project grows without worrying about infrastructure limitations.
- Cost-Effective: Pay only for the resources you use, making AWS VPC an affordable solution for both small-scale and enterprise-level projects.
- Global Reach: AWS has data centers worldwide, ensuring low latency and high availability for your IoT applications.
Setting Up Raspberry Pi for RemoteIoT
Now that you know why AWS VPC is essential let's talk about the star of the show—Raspberry Pi. This tiny yet powerful device is perfect for IoT projects thanks to its low cost, flexibility, and ease of use. But before you can connect it to AWS, you'll need to set it up properly.
Hardware and Software Requirements
Here's what you'll need to get started:
- Raspberry Pi (preferably 4 or later)
- MicroSD card (16GB or higher)
- Power supply
- Wi-Fi dongle (if your Pi doesn't have built-in Wi-Fi)
- Raspbian OS installed on the SD card
Once you have all the hardware, it's time to set up the software. Start by installing Raspbian on your SD card using a tool like Etcher. Then, connect your Pi to a monitor, keyboard, and mouse to complete the initial setup. Don't forget to enable SSH and configure Wi-Fi settings for remote access.
Read also:The Euro Symbol A Powerful Currency Icon Explained
Connecting Raspberry Pi to AWS
With your Raspberry Pi up and running, it's time to connect it to AWS. This step is crucial because it allows your Pi to communicate with the cloud and access AWS services. Here's how you can do it:
Step 1: Create an AWS Account
If you don't already have one, head over to the AWS website and sign up for a free tier account. This will give you access to a range of services, including IoT Core and VPC, for free for a year.
Step 2: Set Up AWS IoT Core
Once your account is ready, navigate to the AWS Management Console and launch IoT Core. Follow the wizard to create a new thing (a representation of your Raspberry Pi in the cloud) and download the necessary certificates and keys.
Step 3: Install AWS CLI on Raspberry Pi
To interact with AWS services from your Pi, you'll need to install the AWS Command Line Interface (CLI). Use the following command to install it:
sudo apt-get update && sudo apt-get install awscli
After installation, configure the CLI by running aws configure and entering your access key, secret key, region, and output format.
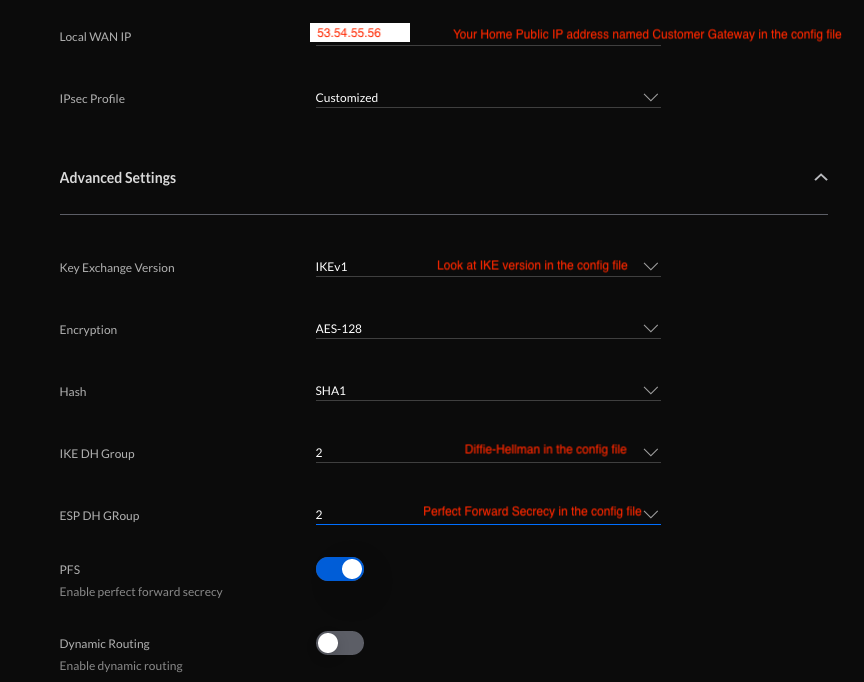
Configuring VPC for RemoteIoT
Now that your Raspberry Pi is connected to AWS, it's time to set up the VPC network. This step ensures your devices are securely isolated from the public internet while still being accessible remotely.
Creating a VPC
To create a VPC, go to the AWS Management Console and select VPC from the services list. Click on "Create VPC" and fill in the required details, such as the CIDR block and DNS settings. Once created, you can add subnets, route tables, and security groups to customize your VPC.
Setting Up Subnets
Subnets allow you to divide your VPC into smaller segments, each with its own IP range. For a RemoteIoT setup, you might want to create separate subnets for public and private devices. Public subnets can be accessed from the internet, while private subnets remain isolated.
Securing Your RemoteIoT VPC Network
Security should always be a top priority when working with IoT devices. Here are some best practices to keep your VPC network secure:
- Use security groups to control inbound and outbound traffic.
- Enable VPC Flow Logs to monitor network activity.
- Regularly update your Raspberry Pi's firmware and software.
- Implement multi-factor authentication (MFA) for AWS account access.
Troubleshooting Common Issues
Even with the best preparation, issues can arise. Here are some common problems you might encounter and how to fix them:
Issue 1: Connectivity Problems
If your Raspberry Pi can't connect to AWS, check the following:
- Ensure the AWS CLI is properly configured.
- Verify that the security group allows outbound traffic to AWS.
- Check your Pi's network settings and Wi-Fi connection.
Issue 2: Security Group Misconfiguration
Incorrect security group settings can prevent devices from communicating. Double-check your rules and ensure they align with your project requirements.
Real-World Applications of RemoteIoT VPC Network
Now that you know how to set up a RemoteIoT VPC network, let's explore some real-world applications:
Smart Home Automation
Use Raspberry Pi and AWS to build a smart home system that controls lighting, temperature, and security cameras remotely. With a VPC setup, you can ensure your devices remain secure while still being accessible from anywhere.
Industrial IoT
In manufacturing, IoT devices are used to monitor equipment performance and optimize production processes. A RemoteIoT VPC network can help you manage these devices efficiently and securely.
Conclusion: Take Action Today!
There you have it—a comprehensive guide to setting up a RemoteIoT VPC network with Raspberry Pi and AWS. From understanding the basics to troubleshooting common issues, we've covered everything you need to know to get started. But remember, learning doesn't stop here. The world of IoT and cloud computing is constantly evolving, so stay curious and keep experimenting.
So, what are you waiting for? Grab your Raspberry Pi, sign up for AWS, and start building your dream IoT projects. And don't forget to share your experiences in the comments below. Who knows, you might inspire someone else to join the IoT revolution!
Table of Contents
Article Recommendations